
Discover ways to clarify labels the simple manner, with no specialty paper or difficult software program required!


Sooner or later previously decade or so, I lastly bought fed up with the quantity of packaging in my pantry. I used to be as much as my eyes in unpleasant containers and baggage that have been taking over house and making me loopy!
So I began gathering cute reusable containers so I may retailer my pantry meals and elements in these and do away with all of the cumbersome packaging. My pantry began trying 1,000,000 instances higher, and I used to be content material.
That contentment was short-lived, as a result of I ultimately realized I had inadvertently created one other downside—my containers didn’t have labels to inform me what was inside! I considered shopping for a few of these label sheets that you may get at workplace provide shops, however finally I made a decision that I may work out a less expensive possibility.
After scouring the online for concepts, I got here throughout a technique for making do-it-yourself labels utilizing packing tape. I used to be skeptical at first, as a result of I used to be positive the ink wouldn’t switch proper and that the tape wouldn’t keep sticky.
However all my skepticism was for naught, as a result of all of it labored out and I ended up with do-it-yourself labels that have been cute, useful, and didn’t value me a penny to make since I already had all of the provides available. Right here’s how one can make your individual customized labels:

How To Make Customized Printed Labels
You’ll want:

Instructions:
Step 1 – Print The Design
Begin by printing your label design onto a sheet of copy paper. You possibly can select photographs, textual content, or the rest you need to make a label of! Printing in black or grayscale makes for the perfect label (as a result of coloured ink simply doesn’t appear to switch as effectively for some cause.)
Step 2 – Tape Over The Design
Rigorously cowl the printed space with a bit (or items, if essential) of industrial quality packing tape.

Step 3 – Lower The Labels And Press The Ink
Use your scissors to chop your labels all the way down to no matter dimension you need them to be.

Then take your craft stick, or one thing sturdy with a flat edge, and slide it throughout the tape to assist push the ink onto the tape. Give it some elbow grease, as a result of extra stress will assist make a clearer label!
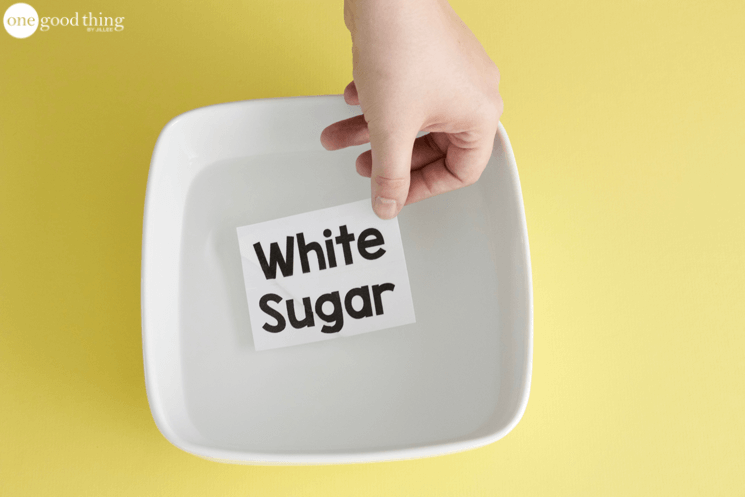
Step 4 – Soak The Labels
Subsequent, fill a large, shallow bowl with heat water. Place your label(s) into the water and allow them to soak for 20 minutes to an hour, or till the paper will separate simply from the tape.

Step 5 – Take away The Paper And Let It Dry
Take away the labels from the water and thoroughly peel the paper away from the tape. Set the tape onto a towel with the sticky aspect going through up, and permit it to dry for a couple of minutes.
As soon as the tape dries out, the adhesive will develop into sticky once more.

Step 6 – Apply The Completed Label
Lastly, place your label on the supposed container or floor. (They give the impression of being nice on glass, however you may also apply them to wooden and plastic.)
We made just a few labels for just a few large glass jars within the kitchen at our studio. I really like how they turned out, and the truth that it didn’t value us a factor to make them. How’s that for frugal group?
How do you label your containers?


 – The Knox Student")


")

