
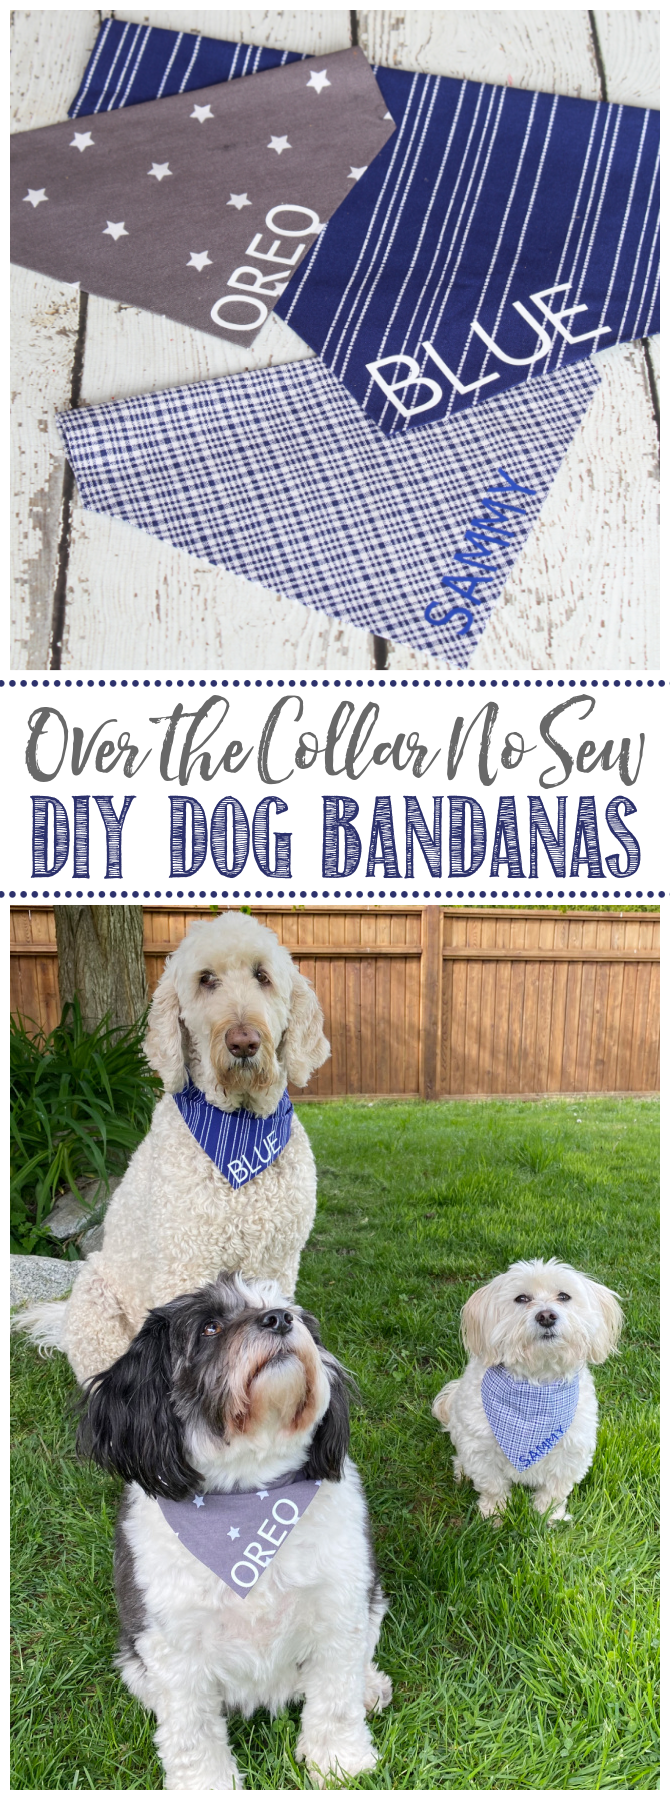
These straightforward, no sew DIY canine bandanas are so fast to make and might be completely custom-made utilizing your Cricut machine and iron-on vinyl. Add your pet’s title, seasonal designs, birthday greetings, and extra!
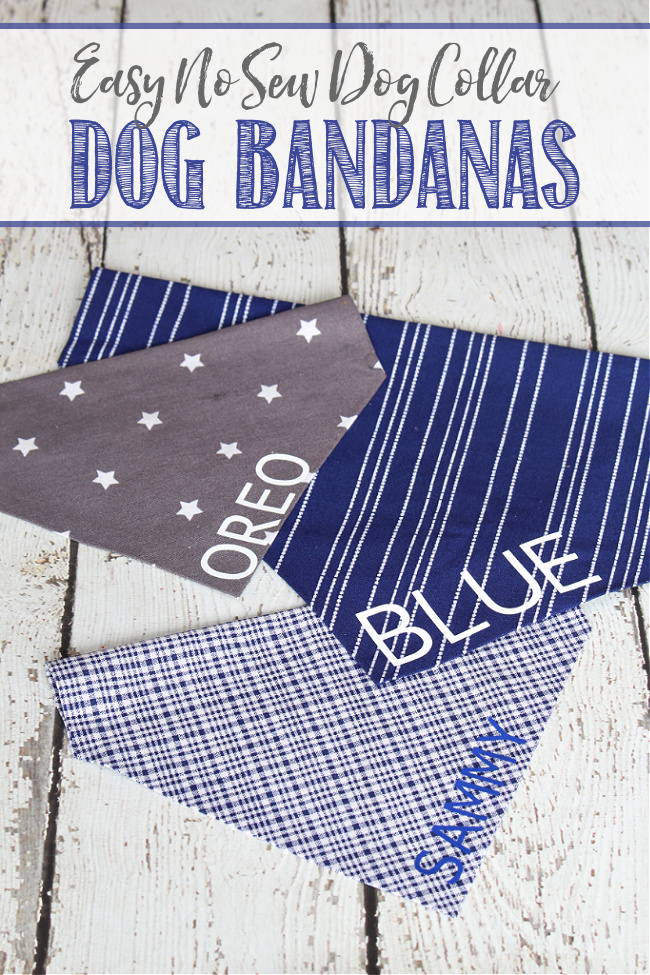
DIY Dog Bandanas
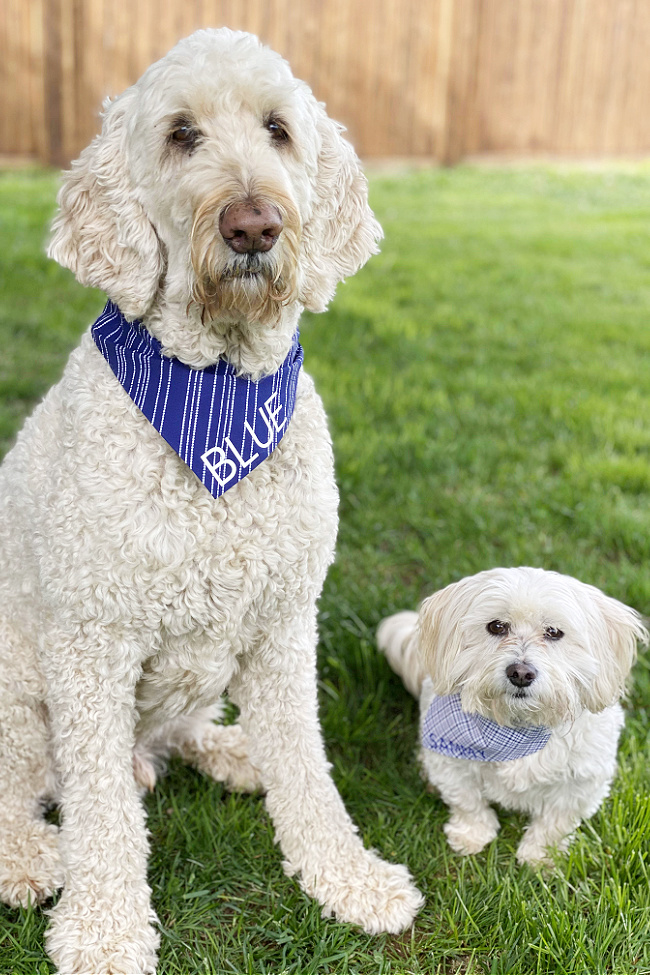
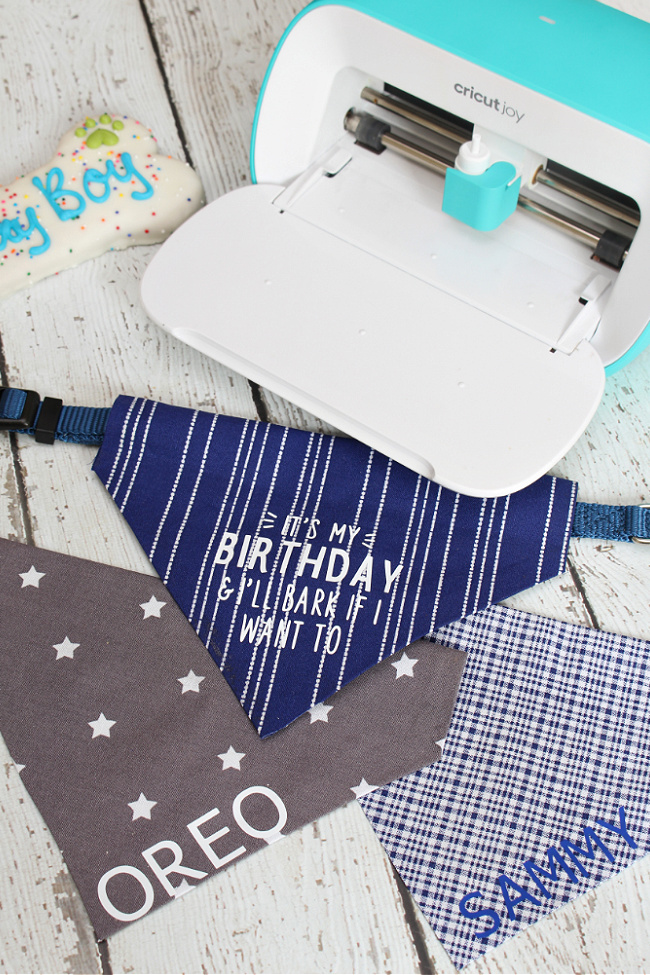
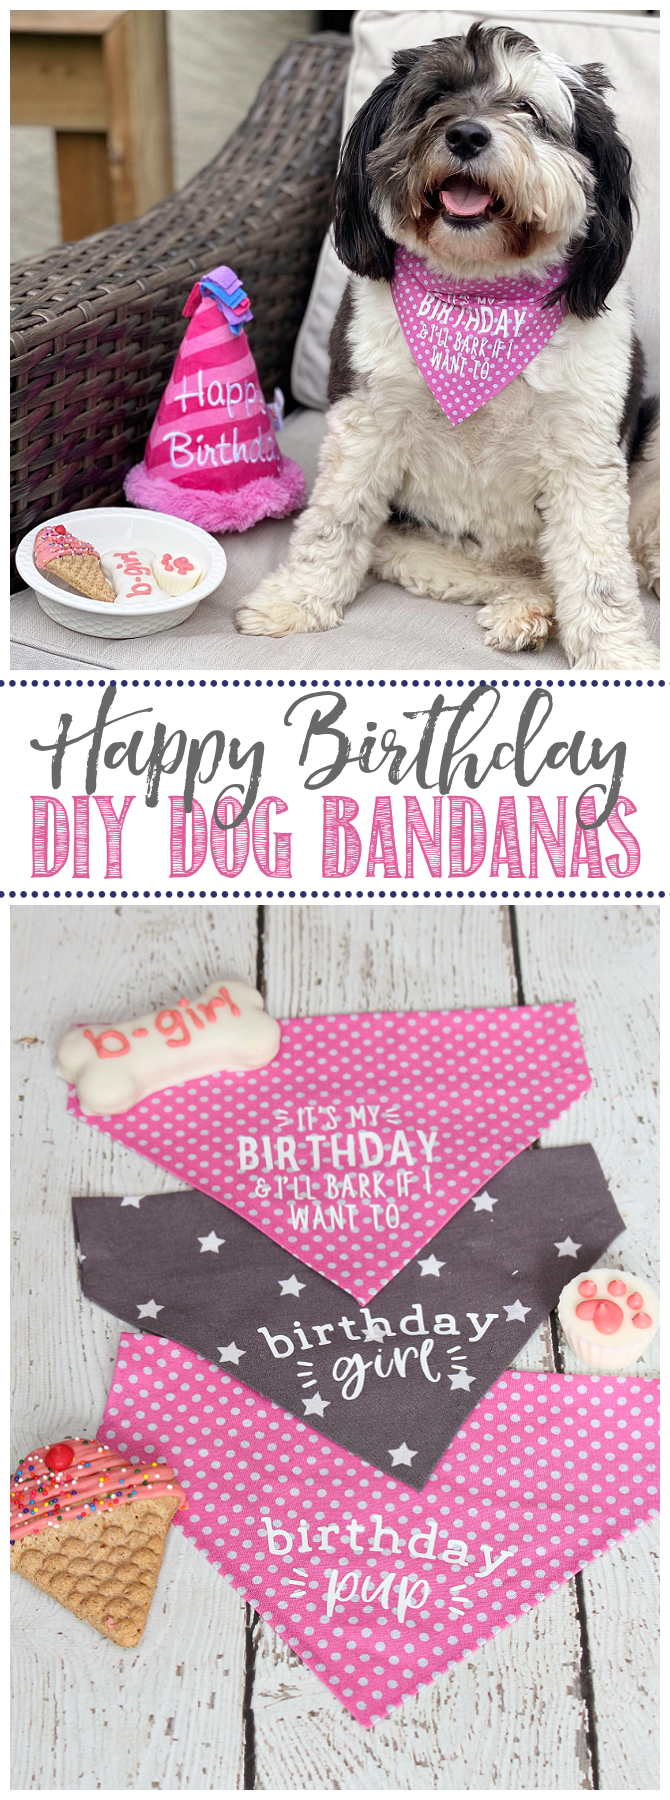
I at all times have enjoyable dressing up our canines and these straightforward DIY canine bandanas are the proper accent! You possibly can simply customise them along with your Cricut machine and iron-on vinyl for a enjoyable seasonal bandana or cute apparel for an important day like a marriage or your pet’s birthday. There’s no stitching required and you can also make one in lower than 30 minutes!
This put up is sponsored by Cricut and does include affiliate hyperlinks. Which means I’ll make a small fee (at no cost to you} off purchases made instantly by the hyperlinks supplied. As at all times, all opinions are 100% my very own. Thank-you a lot on your assist.
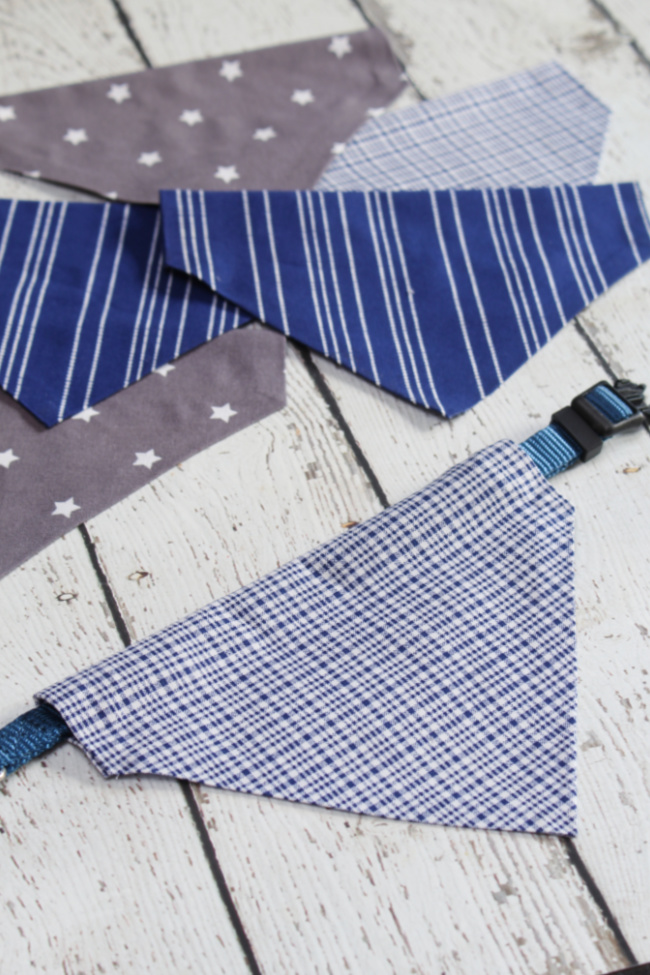
Pet Collar Slide-On Bandana
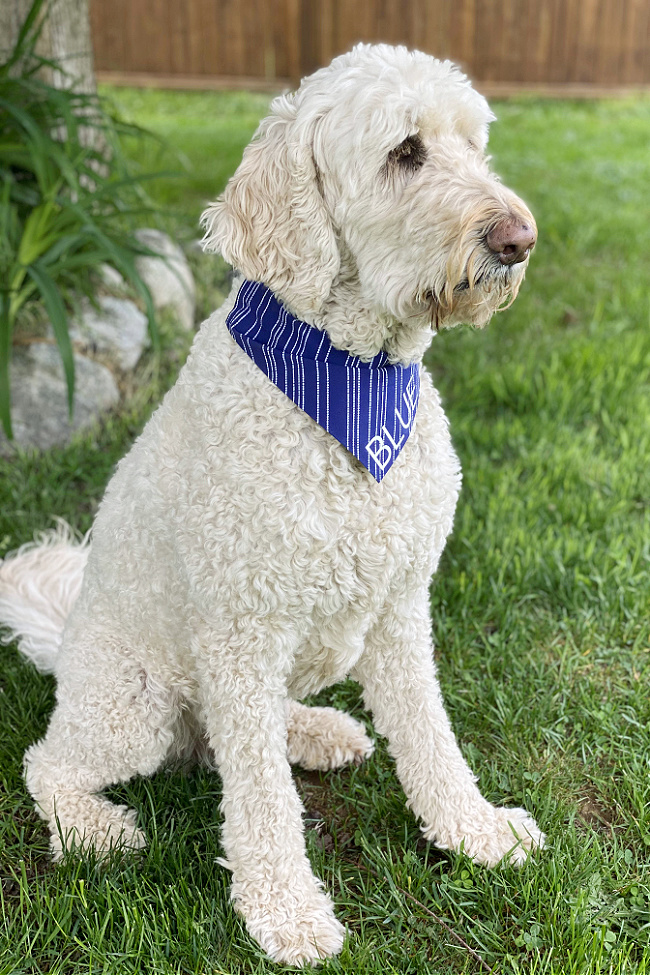
These pet bandanas slide proper in your canine’s collar so that you don’t have to fret about it falling off or being too tight round your pet’s neck.
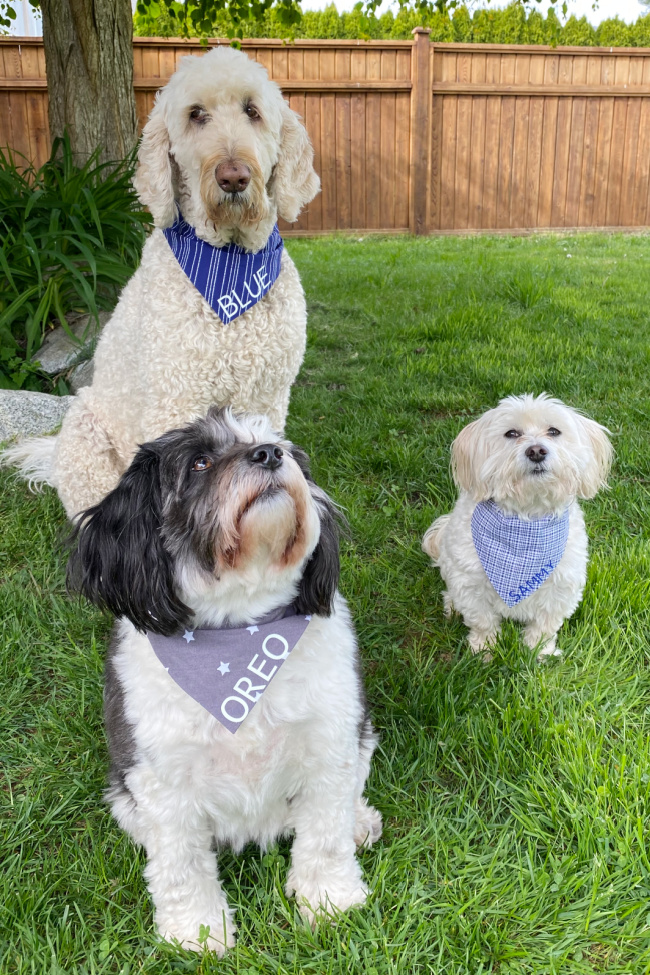
There are two sizes of the bandana sample obtainable. You possibly can at all times make slight alterations {both greater or smaller} from these to greatest go well with the scale of your canine. For reference, our smaller canines are just below 20 lbs. and 30 lbs. and our huge canine is round 60-65 lbs.
The small dimension accommodates collars as much as about 3/Four inches whereas the massive dimension matches collars as much as a bit of over an inch. When you have a wider collar, don’t fear although. You possibly can simply modify the sample to suit your collar dimension. Simply add a bit of peak to the highest fringe of the sample.
I feel these turned out so cute they usually’re tremendous addictive to make. They’re so fast and simple to create that you may make a brand new one for every vacation or particular occasion. Change them up with new materials, totally different coloured iron-on vinyl {or glitter iron-on!}, and any design that you can imagine!
No Sew DIY Dog Bandana Tutorial
These no sew DIY canine bandanas are so enjoyable and simple to make. They’re an effective way to make use of up scrap materials and the design prospects are infinite. I’m positive you received’t have the ability to simply make one!
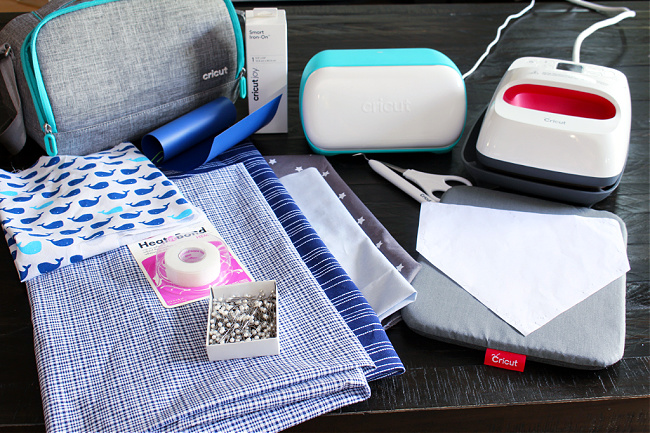
Supplies
Step 1: Put together your material.
Pre-wash your material with out material softener. Iron out any wrinkles.
Step 2: Obtain and Print the Sample
There are two sizes of bandana patterns that you may select from. You possibly can obtain the patterns right here:
SMALL BANDANA
LARGE BANDANA
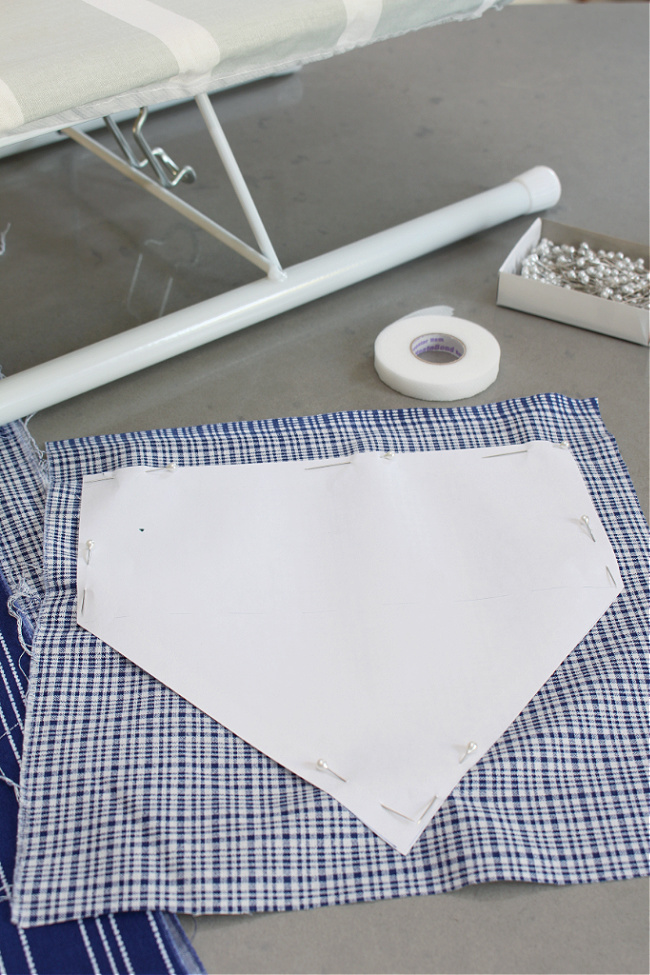
When you’ve downloaded the sample, print it and make any dimension changes that you desire to. When you’re pleased with it, reduce it out.
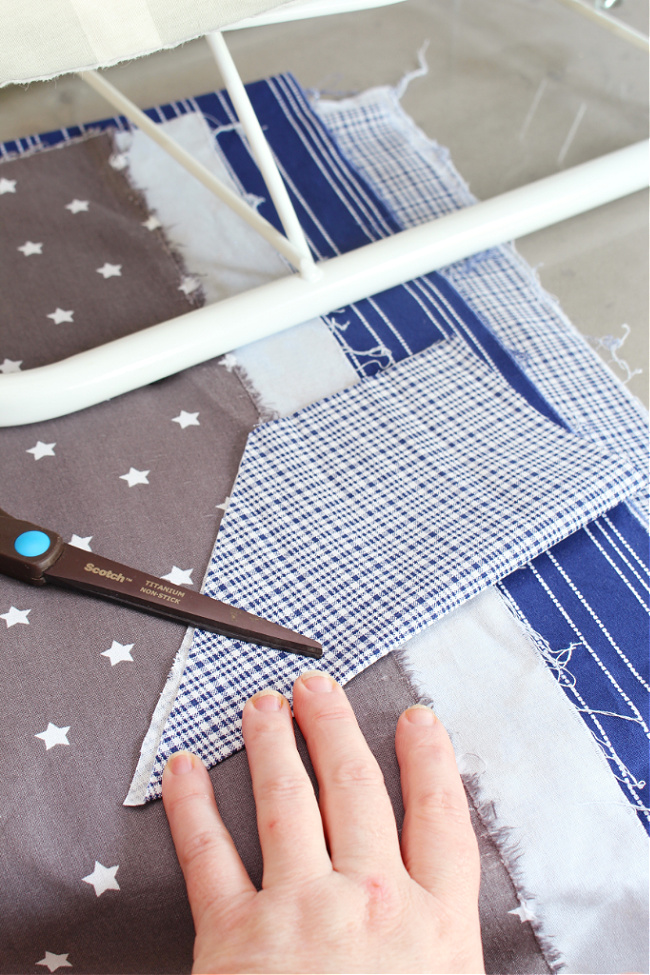
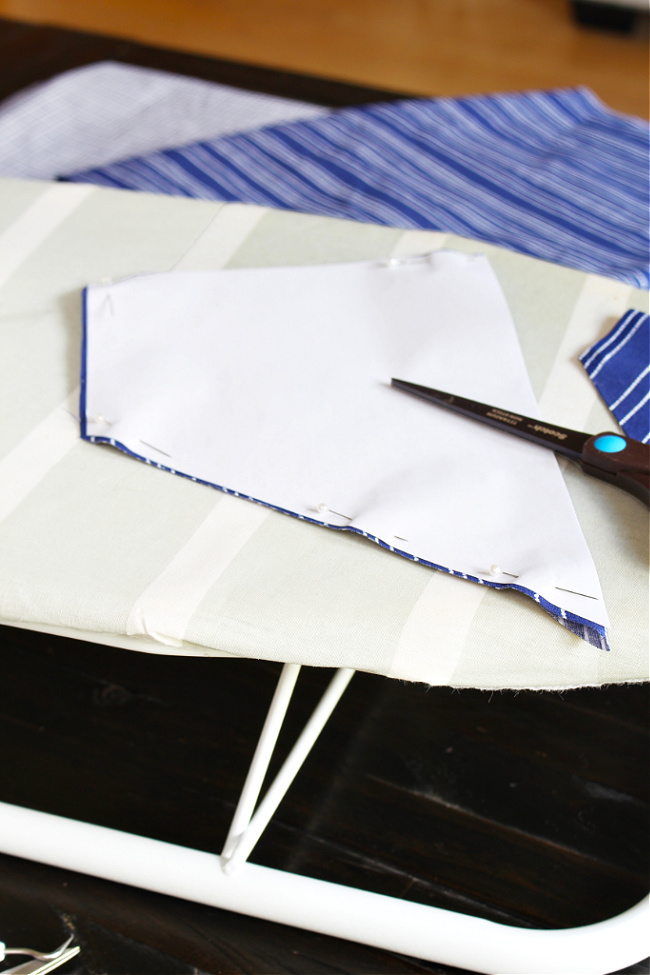
Step 3: Reduce your material.
For the small sample, you’ll be able to simply lay it out over your material, pin flippantly in place, and reduce it out. Alternatively, you’ll be able to fold the sample in half and reduce it out the identical approach as the massive sample listed under. It’s faster that approach, however I favored utilizing the complete sample for some motive.
As soon as it’s reduce, fold it in half and trim any extra materials exhibiting by so the edges match.
For the massive sample, fold your material in half and pin the sample so the lengthy facet is towards the folded {closed} fringe of your material. Reduce alongside the three sides and NOT the lengthy edge.
Step 4: “Hem” the sides.
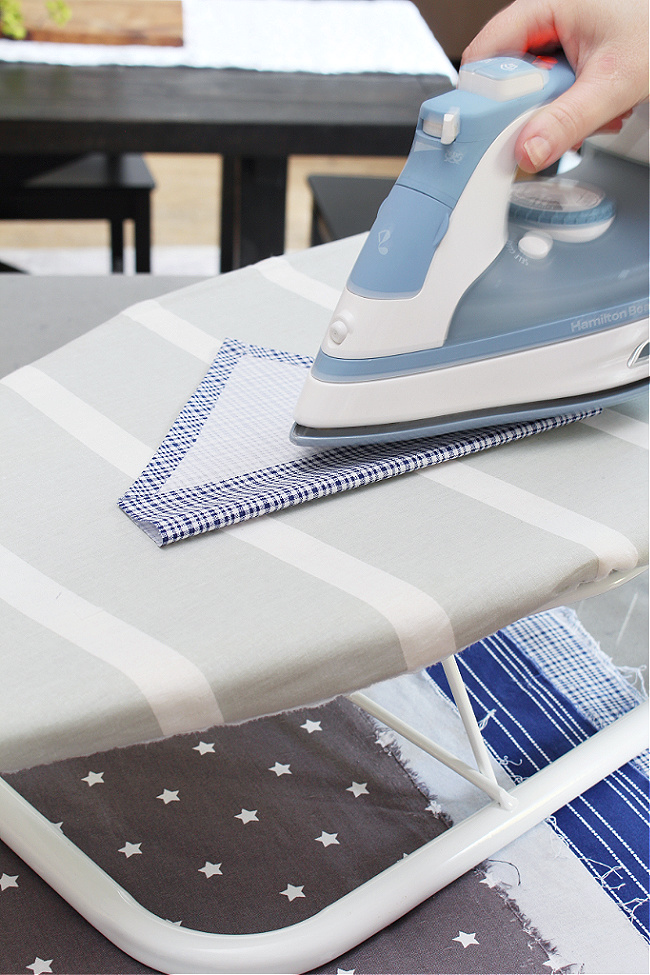
Utilizing the Warmth’n Bond, “hem” the sides. Beginning on the pointed a part of the bandana, reduce a bit of Warmth’n Bond the size of 1 facet and place in place alongside the sting.
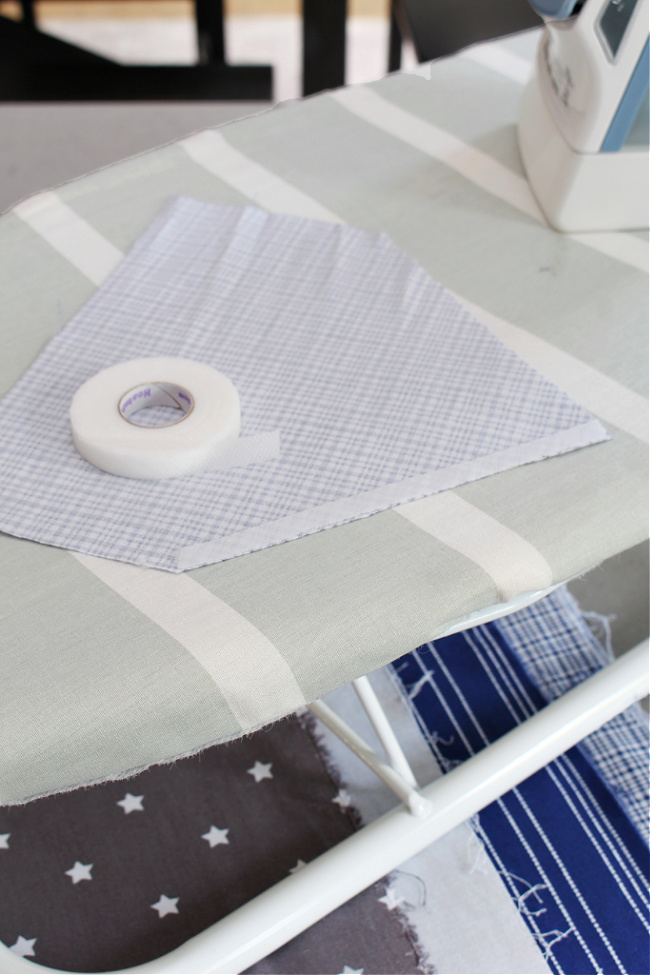
Warmth your iron to a medium temperature setting. Fold the sting of the material over the Warmth’n Bond and press in place for 3-5 seconds. You need to use a straight pin or two to carry in place in case you want however I discovered I might do it with out bothering with pinning. When you may have accomplished one edge, flip it over and iron for 4-5 seconds on the bottom. Press corners in place.
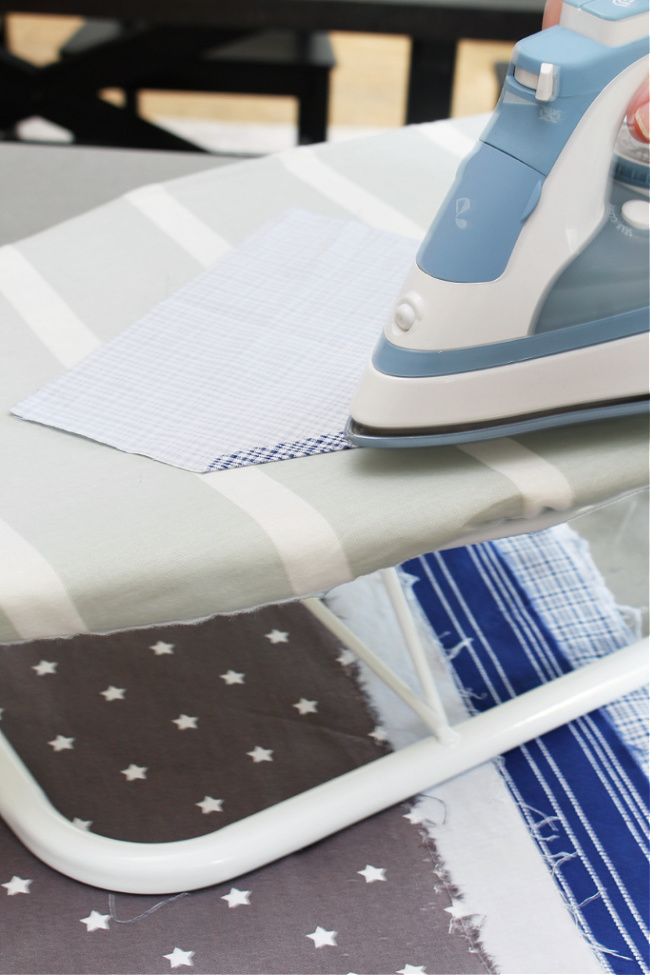
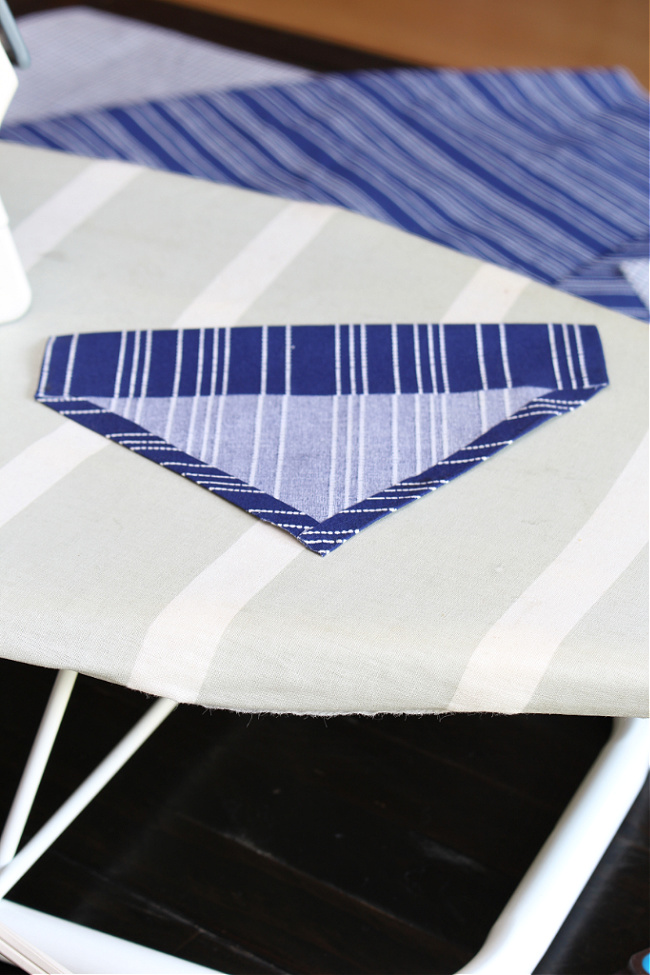
Repeat this for the pointed edges and two sides {don’t hem the highest edge}. As soon as the Four sides have been achieved, fold down the highest fringe of the bandana to the beginning of the triangle. It will kind the pocket for the collar. Use the Warmth ‘n Bond to safe this down.
The bandana ought to appear like this when it’s accomplished…
Step 5: Create your design.
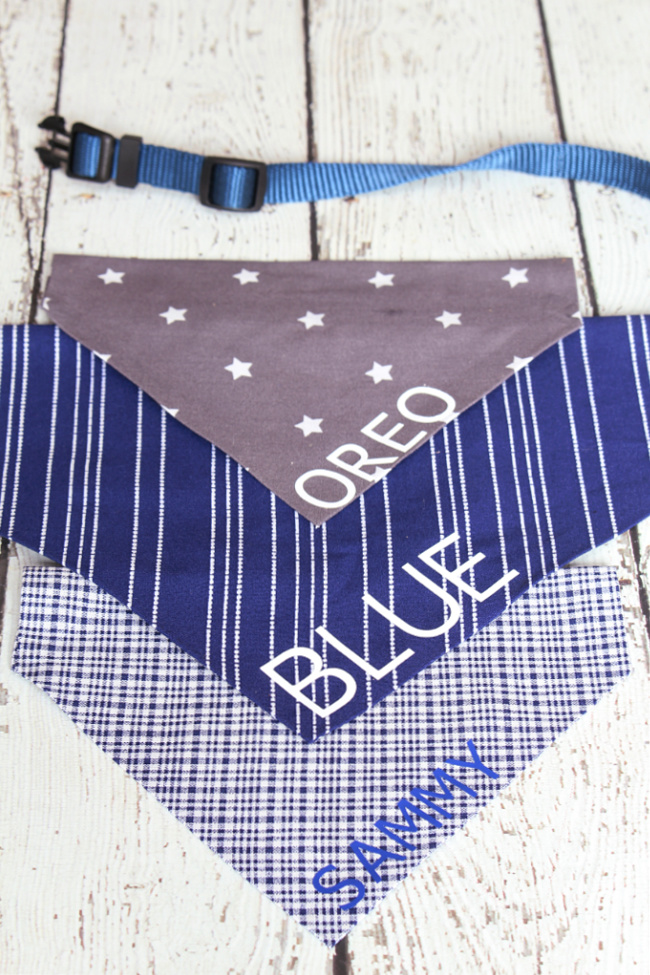
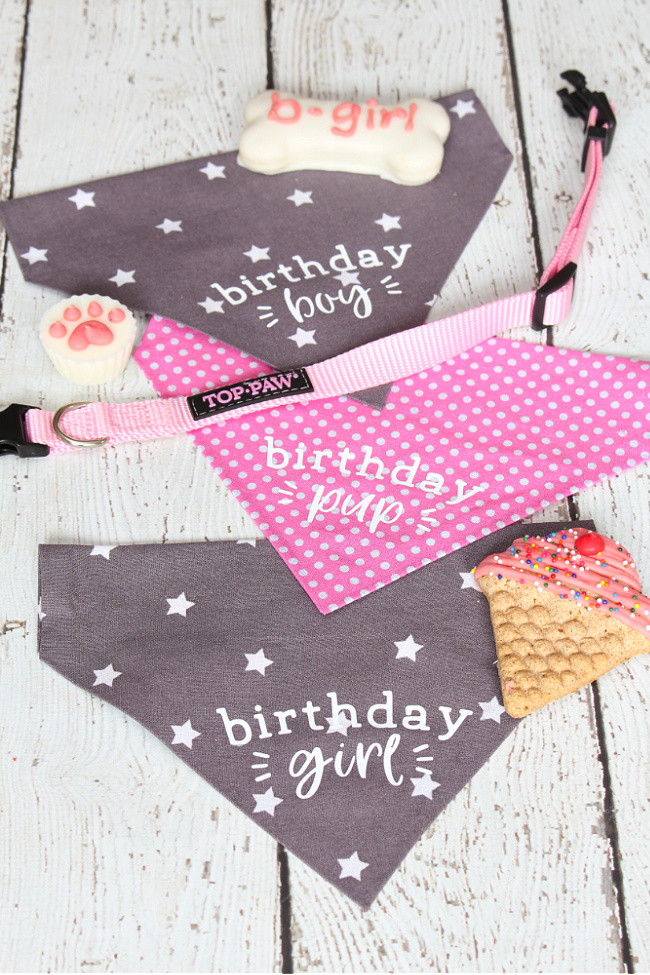
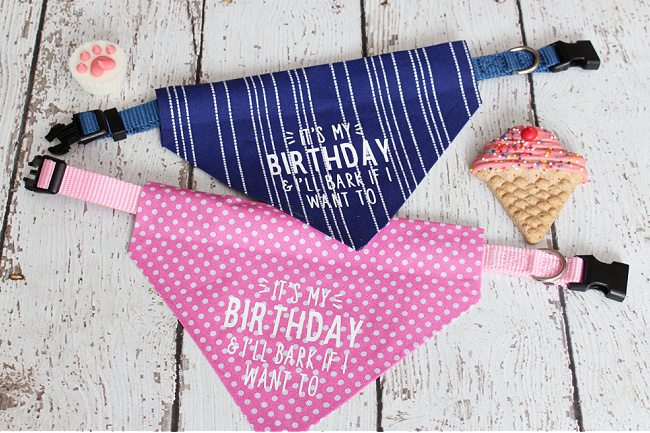
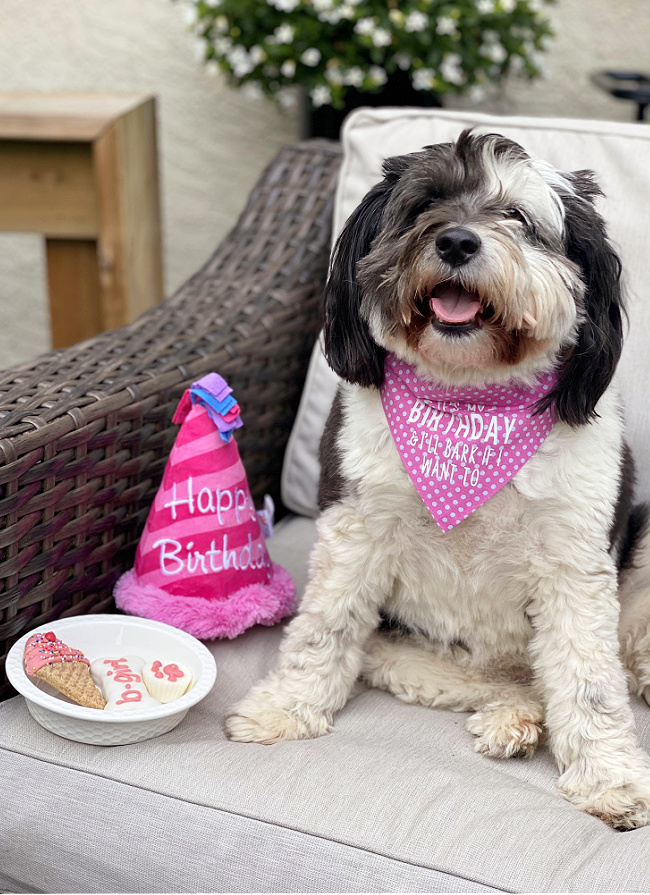
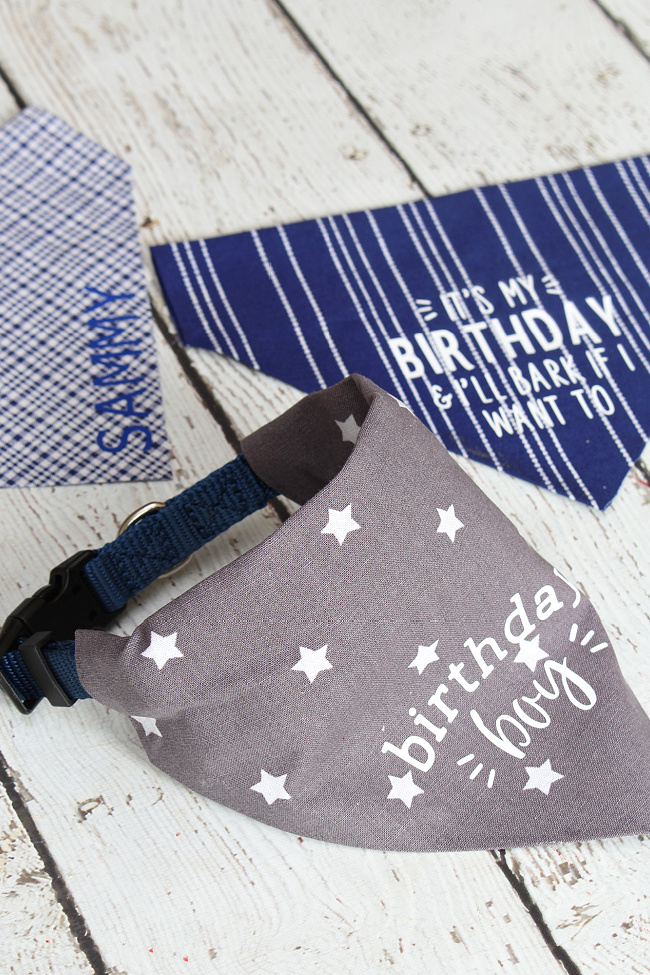
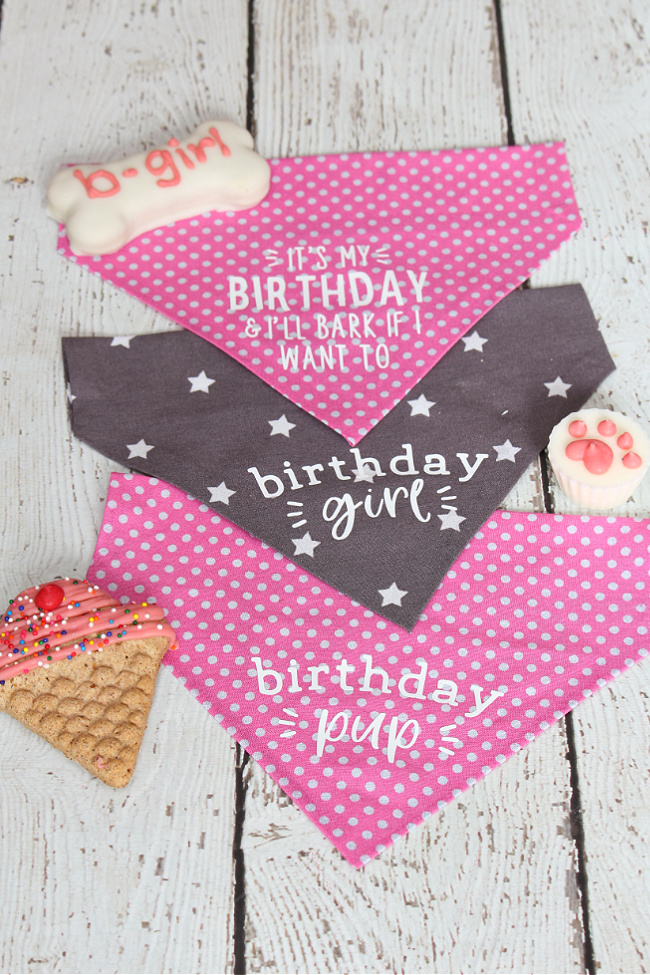
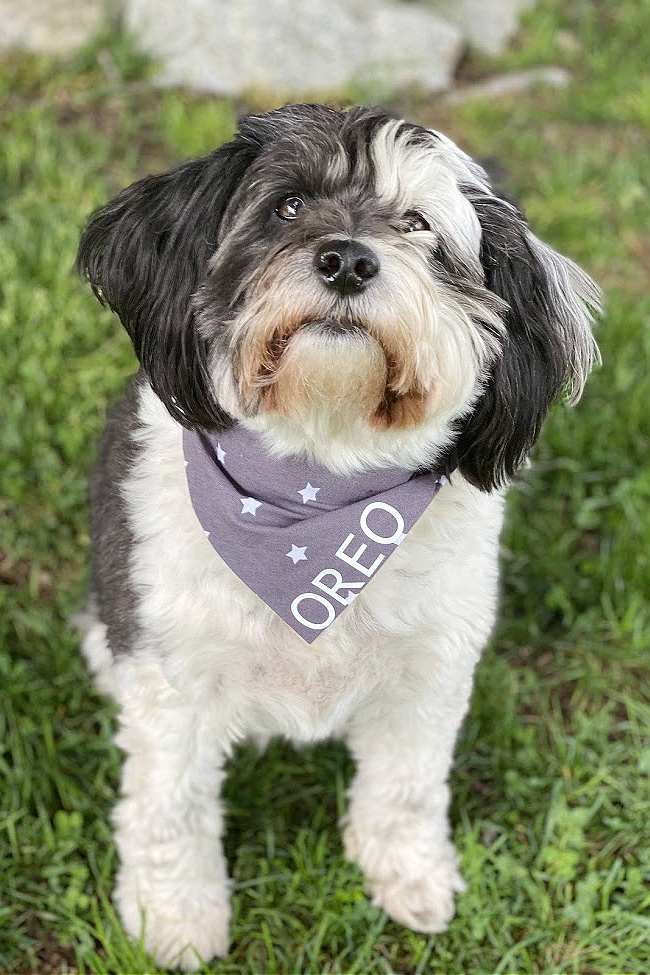
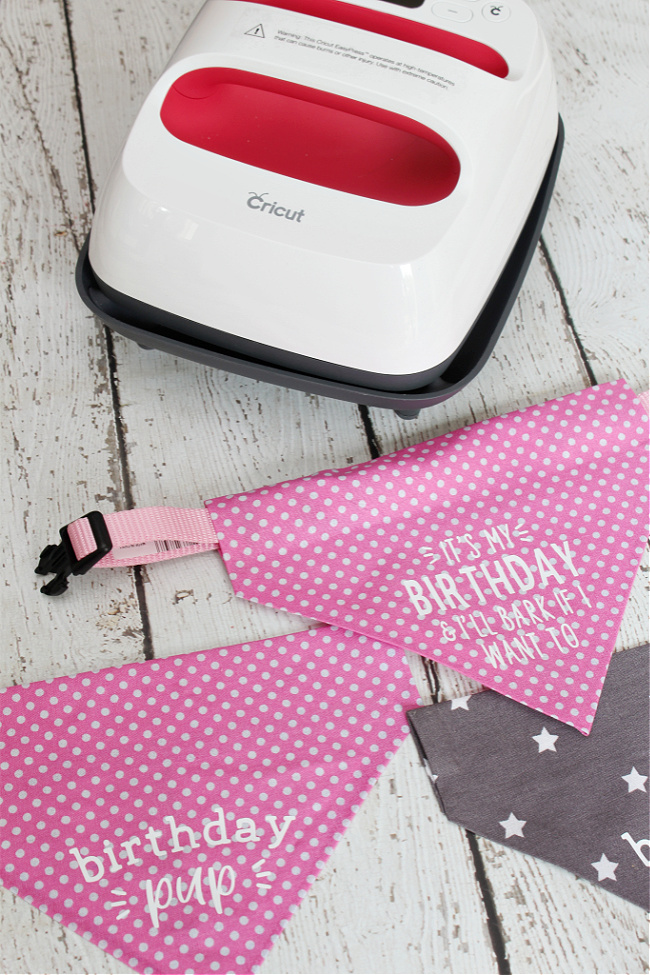
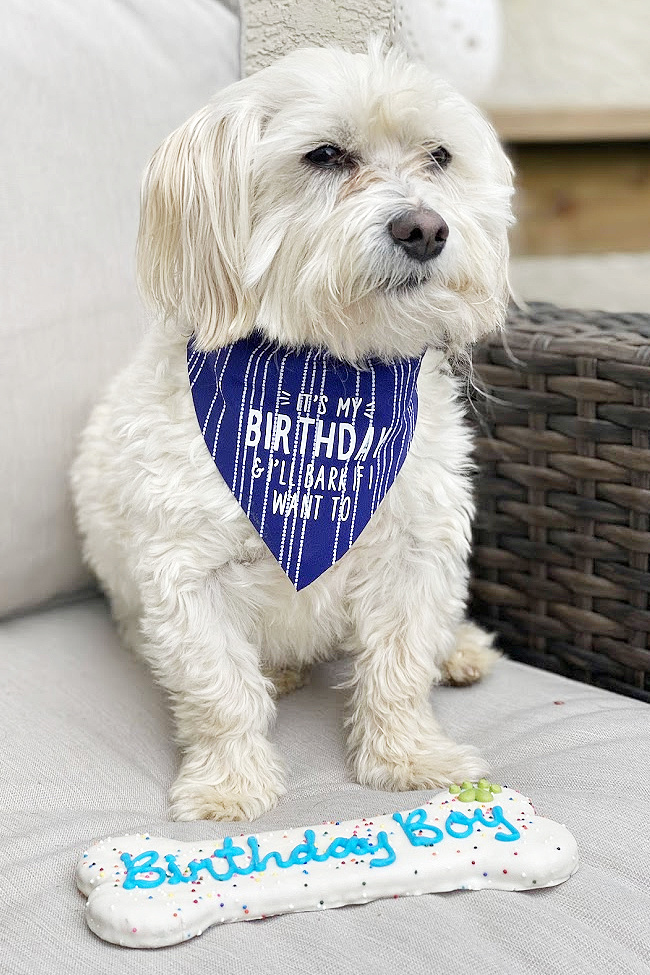
Open Cricut Design House and design what you want to add to your bandana. You need to use your pet’s title, a seasonal design, birthday greetings, or no matter you desire to. The chances are infinite! I did our canine’s names and some totally different birthday bandanas. In case you’d like to make use of my designs, you will discover them right here…
Birthday Pup
It’s My Birthday and I’ll Bark If I Need To
Birthday Woman
Birthday Boy
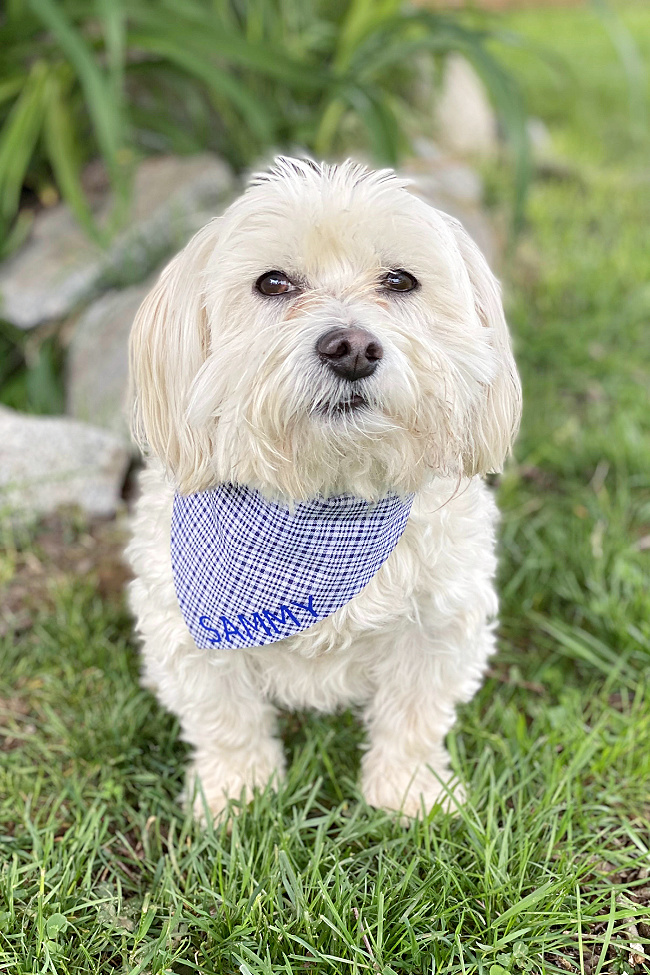
For the names, I used the Tahoma font and simply adjusted the scale to what I wished on the bandana. You possibly can run the title horizontally on the bandana or on extra of a diagonal alongside the sting like I did.
Step 6: Reduce your iron-on design.
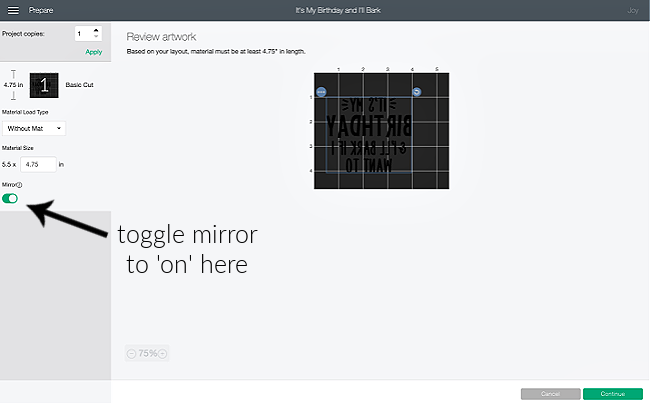
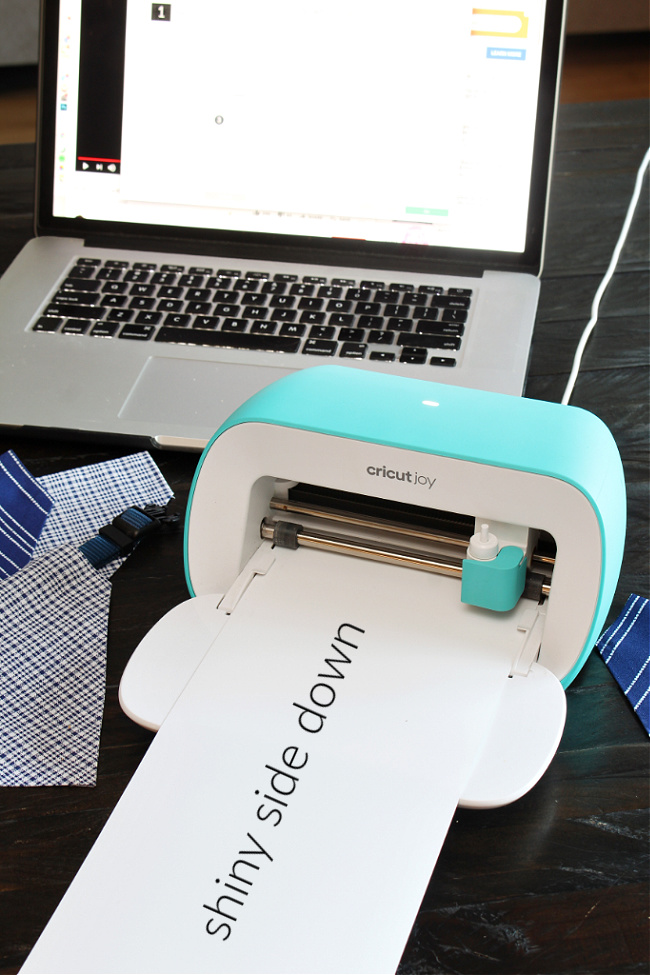
When you’re joyful along with your design, click on “Make It” and select the no mat Sensible supplies setting. Verify the picture format on the preview mat to make sure that the whole lot is the best way you desire to. A very powerful factor to recollect when slicing iron-on is to click on the button to reflect the photographs.
Place your Sensible iron-on materials into the Cricut Pleasure shiny facet down and observe the prompts to chop your pictures. Choose Sensible Iron-On from the listing of supplies.
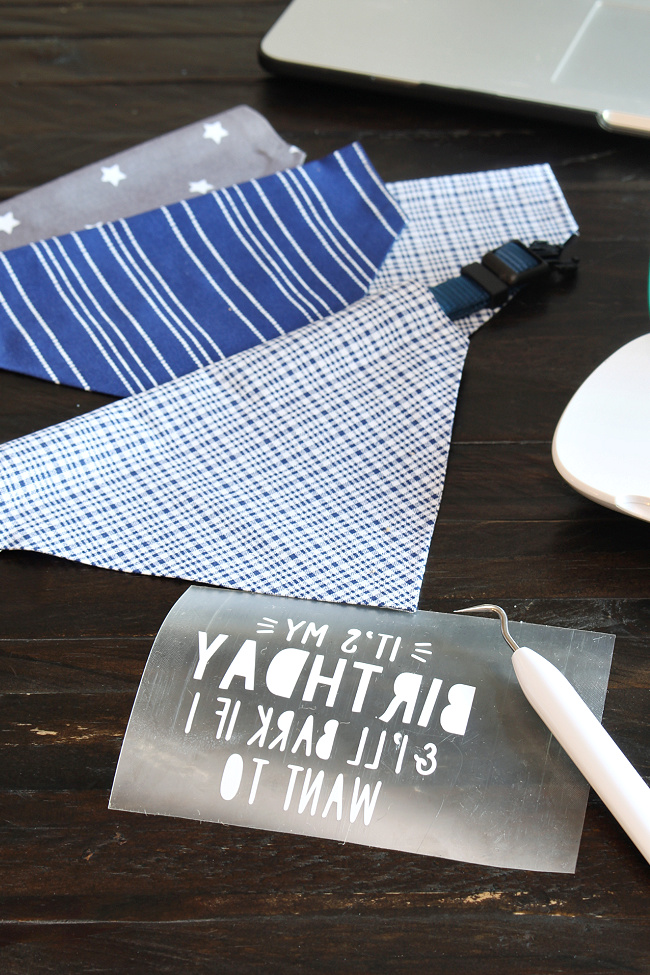
Step 7: Weed your iron-on design.
Trim any extra iron-on vinyl from across the design and use a weeding instrument to take away any remaining components of the design that you simply don’t wish to switch. You possibly can maintain the piece of vinyl as much as a shiny gentle to disclose the reduce traces in the event that they aren’t clear. If you’re achieved, you shoulder be left with the specified picture on the clear protecting liner.
Step 8: Apply your iron-on.
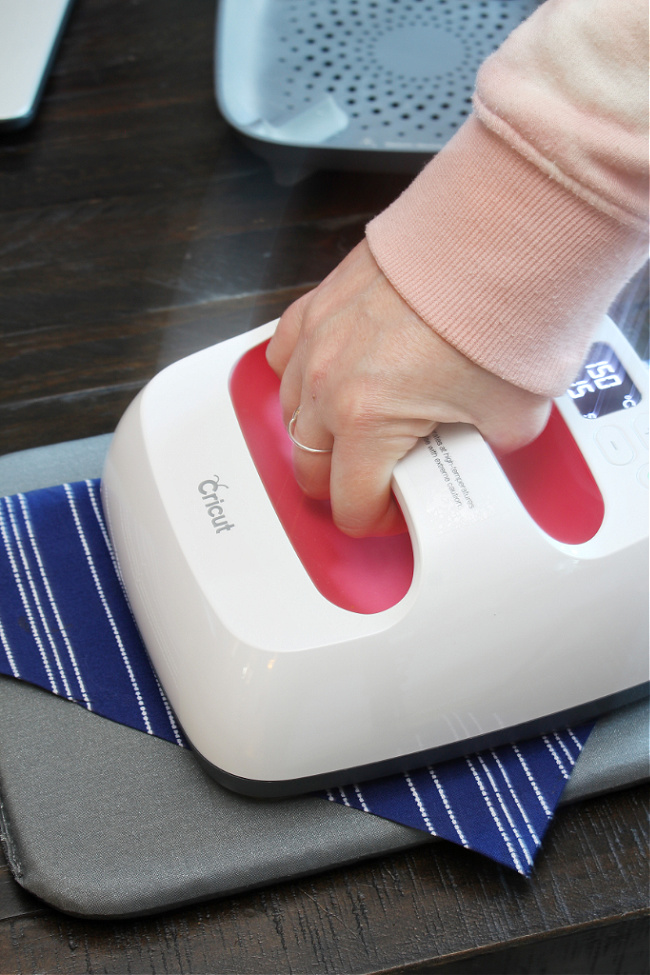
Set your EasyPress 2 to 315F and 30 seconds. {NOTE: I at all times verify the EasyPress temperature information HERE because the temperature and time will differ with totally different materials.} Place your bandana over the EasyPress mat {or use a thick towel} and pre-heat the floor for five seconds the place you may be making use of the design. Subsequent, place the design on the bandana with the clear protecting liner going through up. Apply the warmth along with your Easy Press for 30 seconds with gentle stress. Flip over the material and apply warmth for a further 15 seconds. Permit to chill after which fastidiously peel away the liner.
Cricut Sensible Iron-On Vinyl Ideas and Tips
Right here are some things to recollect while you’re utilizing Cricut Sensible Iron-On Vinyl:
- be sure you mirror your picture earlier than slicing your picture
- you should definitely insert your iron-on vinyl shiny facet down
- in case you’re utilizing a daily iron as a substitute of the EasyPress, flip the steam setting OFF so that you’re simply utilizing a dry warmth.
Easy methods to Look after Your Pet Bandana
These DIY canine bandanas maintain up effectively for gentle to medium use. They are often washed within the washer on chilly as soon as the Warmth’n Bond and iron-on vinyl has been given at the least 24 hours to remedy. Grasp to dry and iron on medium warmth if wanted.
When you have any enjoyable pet birthdays arising, give these a strive!
I hope you may have as a lot enjoyable creating these as I did! I’d like to see photographs of your pups carrying your designs!
Extra Cricut Crafts and DIY Initiatives
For extra Cricut initiatives, try these posts…
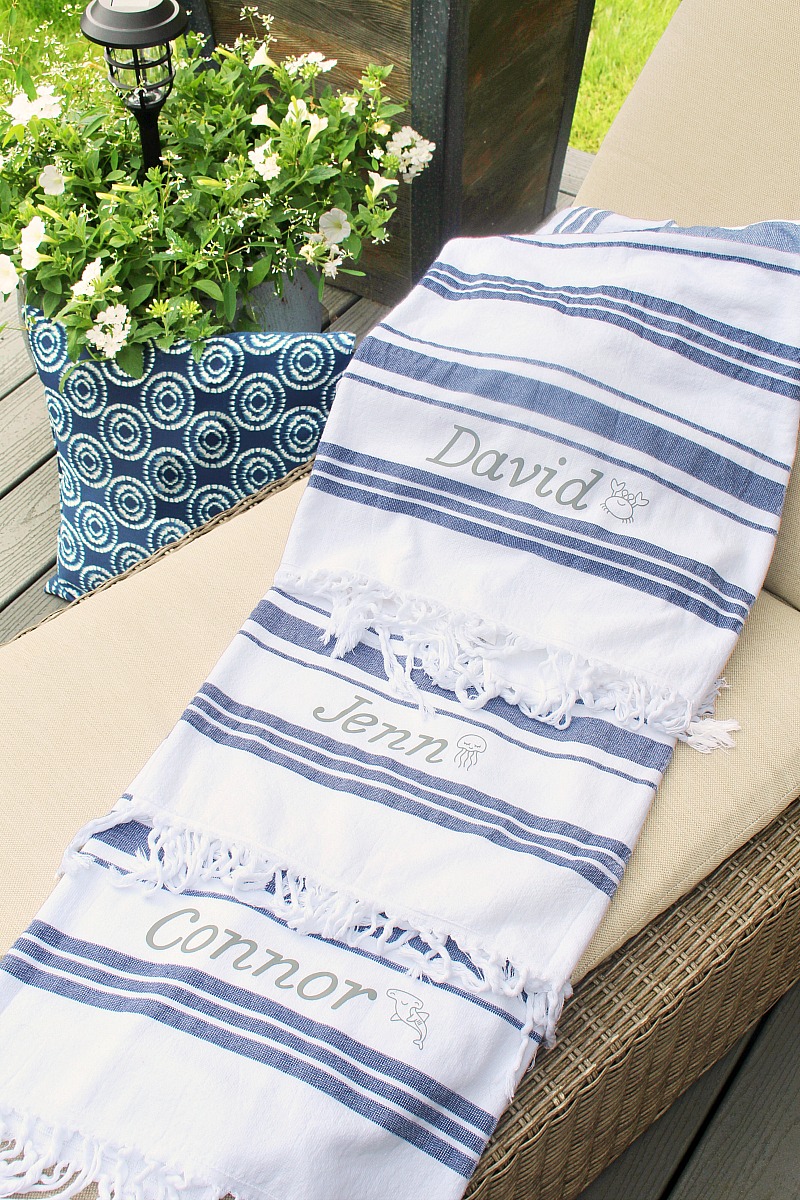
Customized Seashore Towels
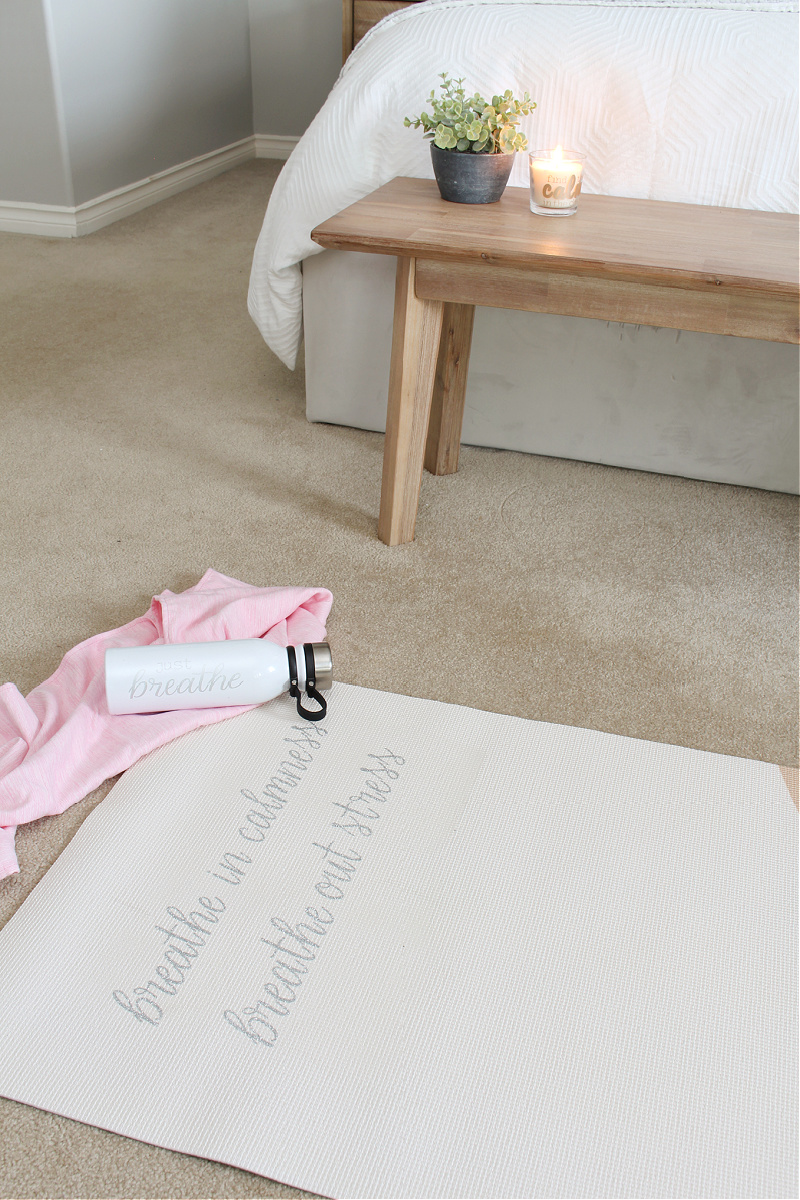
Custom-made Yoga Mat,Towel, and Candle for Self-Care
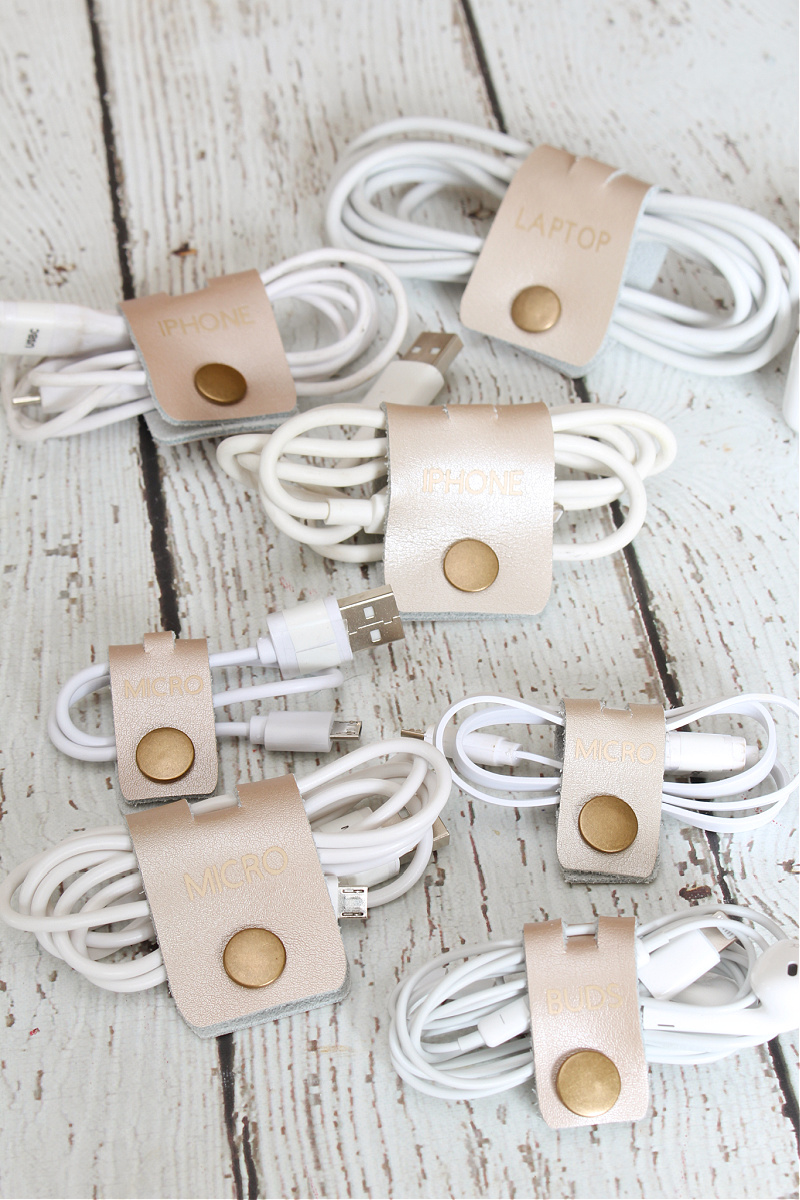
DIY Wire Organizers


")


